Export your Power BI reports in PowerBI Portal 1.4

Joel Monteiro
April 1, 2021PowerBI Portal 1.4 is now available, and it comes with a neat new feature: the ability to export Power BI reports from the front office. Users have been asking for a way to look at their reports outside the portal, and this allows them to have data at hand while offline in the format of their choice.
Before using this feature, there are a few things you must have in place:
- For PowerBI Portal trial users – please make sure your organization’s Power BI Embedded service is running and that you have the Power BI Premium capacity enabled on your workspace in Power BI Online (If you’re not using the trial mode, you most likely already have these settings enabled).
- For all users – Whether you’re on trial mode or using a full license, you must first make sure that:
- Report exports are enabled in the admin tenant settings – Export as PDF and PowerPoint is enabled by default but exporting as PNG is disabled. If you need any help enabling these settings, please visit PowerBI Portal’s Help Center and check the Configure Export Power BI report to file tab under How to use.
- Exports are enabled in the Backoffice – You must tick the Allow Export box in each report in the Backoffice, as shown below, to have the export option available in the front office.

Exporting Power BI reports in PowerBI Portal
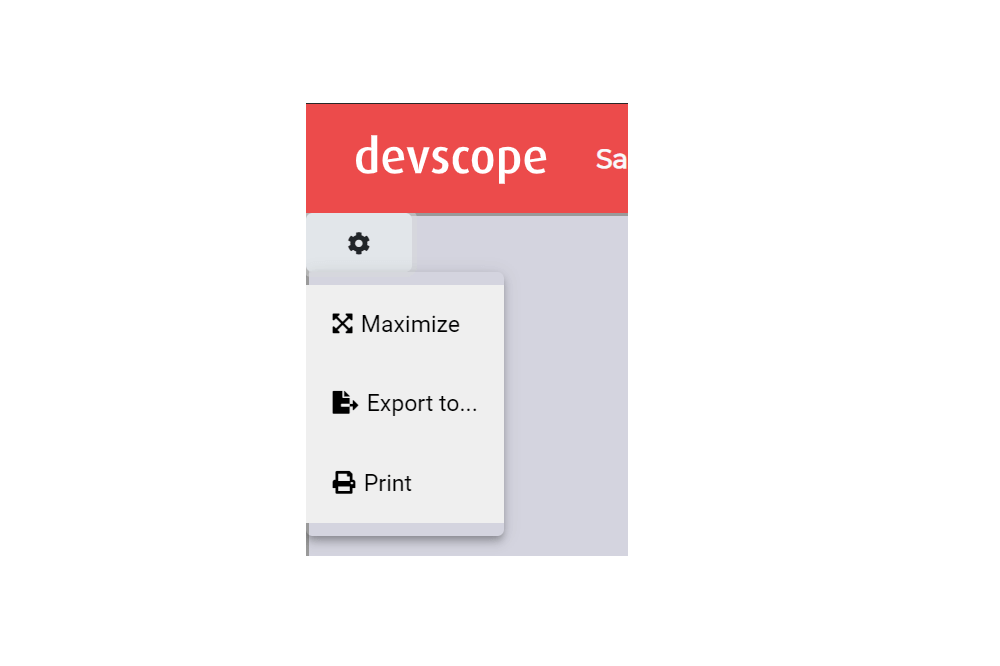
To export your Power BI reports, access PowerBI Portal’s front office, enter the report of your choice and click the Settings wheel icon at the top left corner of the screen. You’ll notice the new Export to… option between Maximize and Print.

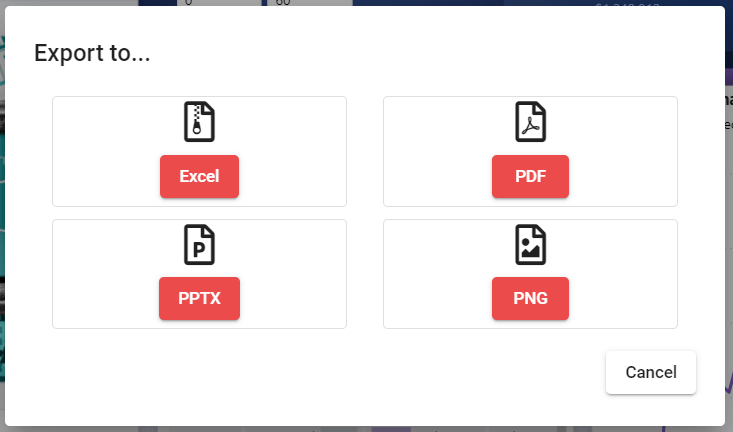
Click it and a new modal will pop up.

PowerBI Portal can currently export reports to Excel, PDF, PowerPoint, and PNG. Select the format of your choice, and a new modal will appear. This modal varies according to the format of your choice:
- Exporting as Excel – choose between:
- Summarized Data: select this option if you don’t have an aggregate or if you do have an aggregate but don’t want to see the complete breakdown. For example, if you have a bar chart showing 4 bars, you will get 4 rows of data.
- Underlying Data: select this option if your visualization does have an aggregate and you’d like to see all the underlying details. Basically, selecting Underlying data removes the aggregate.
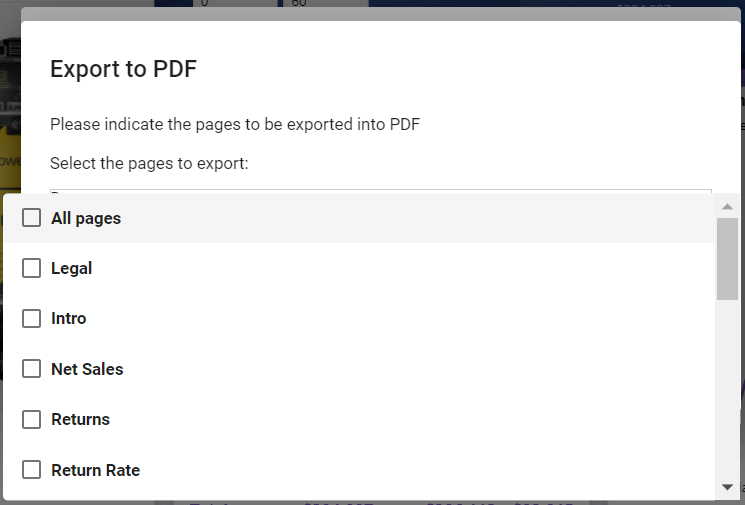
- Exporting as PNG, PDF, or PowerPoint – this modal will have a dropdown menu where you can select the pages from the report you wish to export. You can either pick the pages one by one or, alternatively select “All Pages” to export the entire report. Note: if you’re exporting multiple visuals as PNGs, you’ll have to extract them from a .zip file.

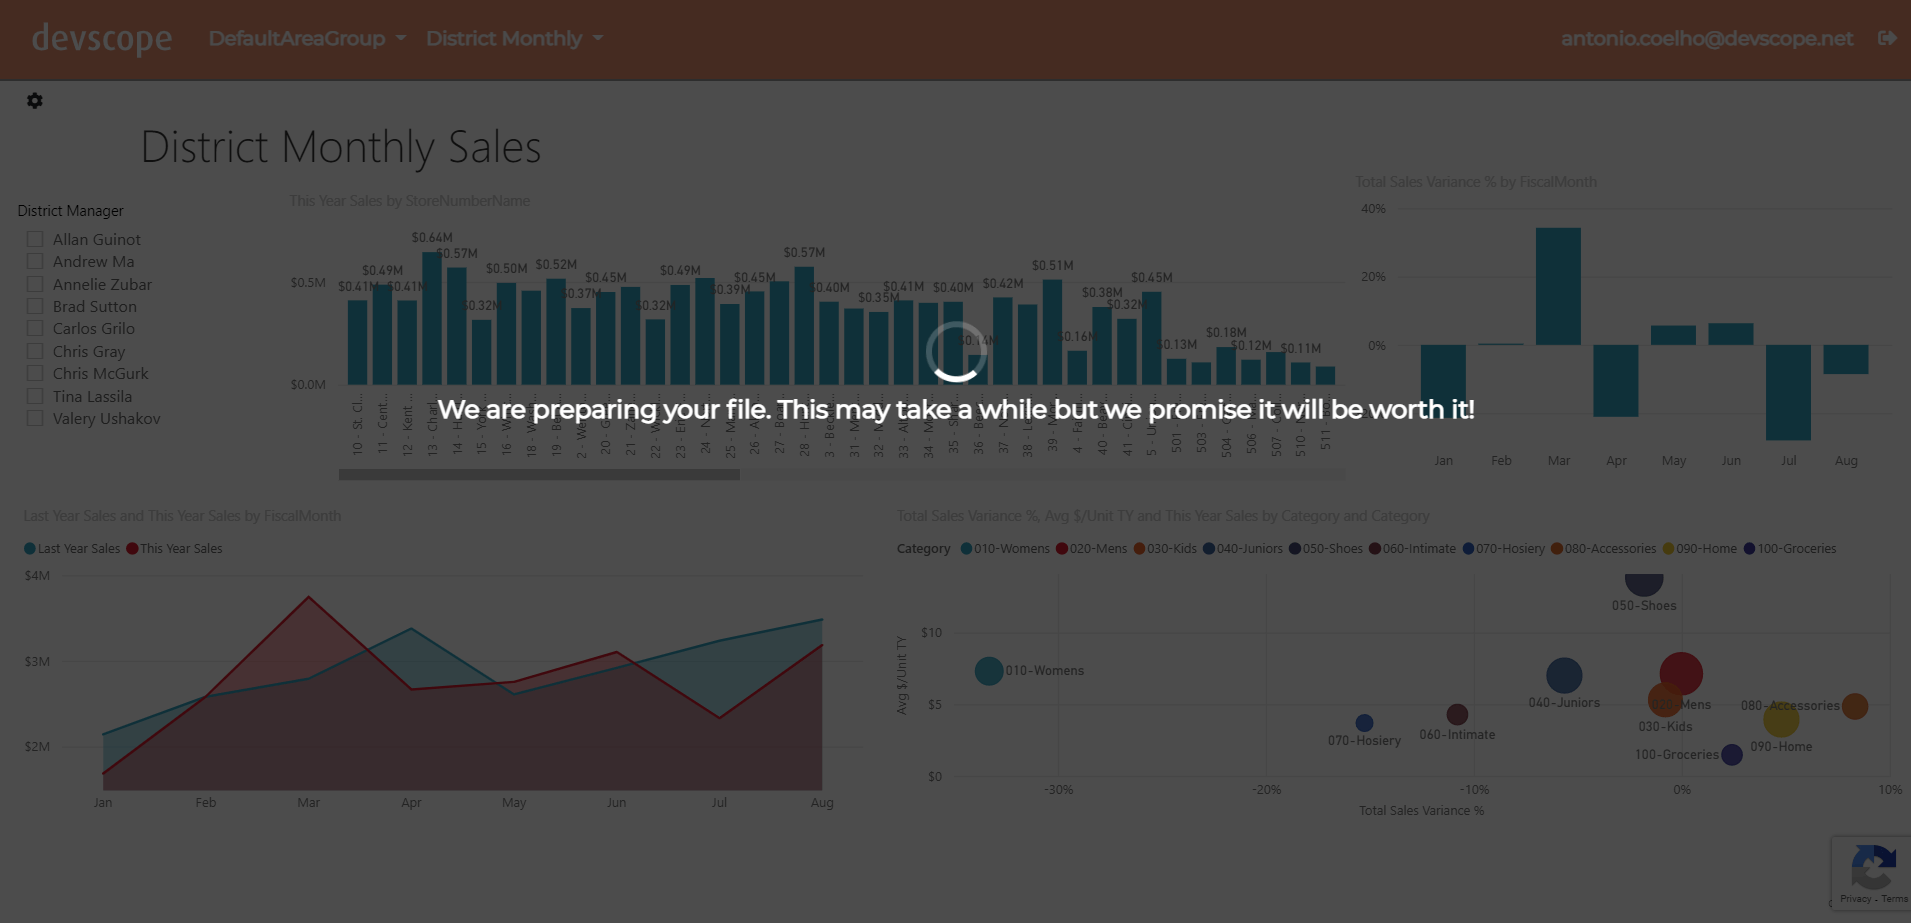
Finish by clicking the Make PPTX/PNG/PDF/Excel button and start your download. PowerBI Portal may take up to 1 minute to get the report ready to download, depending on the format of your choice.

To start using PowerBI Portal 1.4, simply log into your account.
Looking to automate your reports?
If you’re looking for a way to automatically export the latest version of your Power BI reports in any of these formats, save for PowerPoint, you might want to check out PowerBI Robots. This web tool allows you to schedule and automatically send the latest version of your Power BI reports by email, to a SharePoint library, a file system, or any device in the format of your choice, and with the recurrence of your choosing. You can try PowerBI Robots for free.

PowerBI Tiles Online version 2.0 is now available!
PowerBI TIles Online 2.0 is finally here! The PowerPoint add-in is visually cleaner and comes with new funcions. Know all about them here.
