Tokens in PowerBI Robots: take full advantage of them

Joel Monteiro
2024-04-16Tokens are an often-overlooked feature of PowerBI Robots, but their usefulness can range from a nice touch when delivering a report to full-blown report customization.
Despite not being easy to find a universal definition of the word token, it usually stands for the representation of something in its ecosystem. Using tokens in PowerBI Robots can make your report delivery more dynamic and personal.
Which tokens can you use in PowerBI Robots?
As of version 2.4.1, PowerBI Robots supports tokens representing the following range of values:
- Time
- Day
- Week
- Month number
- Month name
- Year
- Full date
- Short date
- Long date
- Recipient email
- Recipient name
- Previous day
- Previous week
- Previous month number
- Previous month name
- Previous short date
- Previous long date
- Previous year
Besides these default tokens, any additional fields associated with a contact in the Recipients tab (for example, company or surname) are automatically made into a token.
PowerBI Robots users can use any of these tokens in the following places:
- Playlist title/filename (General tab)
- Email subject (General tab)
- Email message (General tab)
- Visual title (Visuals tab)
- Report filter (Visuals tab)
- Page filter (Visuals tab)
- Visual filter (Visuals tab)
To use a token, go to any of the fields mentioned, click the “# Tokens” button and select the ones you wish to use from the dropdown menu.

As an example, let’s say you need to report your sales once a week and want the recipient to be able to track down your reports over time. Instead of editing your email’s subject in PowerBI Robots week after week, you can fully automate the process and use tokens to change your email’s subject, such as this “Weekly sales report for #WEEK# of #MONTH_NAME# #YEAR#”. Your report’s subject will be “Weekly sales report for week 4 of January 2020”, “Weekly sales report for week 1 of February 2020”, and so on.

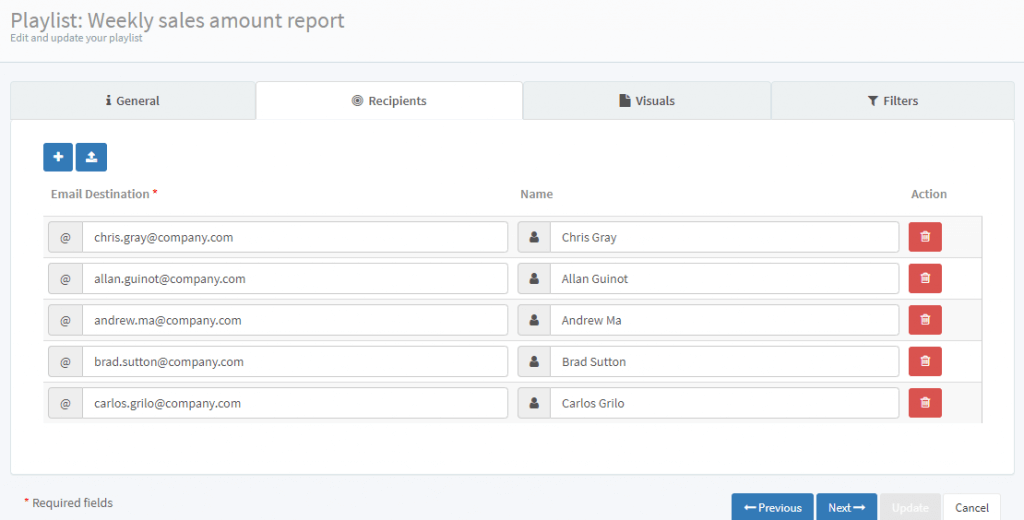
The #RECIPIENT_NAME# and #RECIPIENT_EMAIL# tokens fetch data from the Recipients tab, and as previously mentioned, can be associated with whatever new fields you wish. To add a new column to your contacts, go to the Recipients tab, write your column’s name, and click add. This new column will become a token to be used wherever tokens are supported.

Using the #RECIPIENTS_NAME# and #RECIPIENT_EMAIL# tokens in filters
Filters are where the #RECIPIENT_NAME# and #RECIPIENT_EMAIL# tokens shine the brightest since they allow PowerBI Robots users to apply individual filters to general reports in one go, removing the time-consuming need of setting up a playlist for each recipient.
To explain this function, we’re going to use a real case scenario.
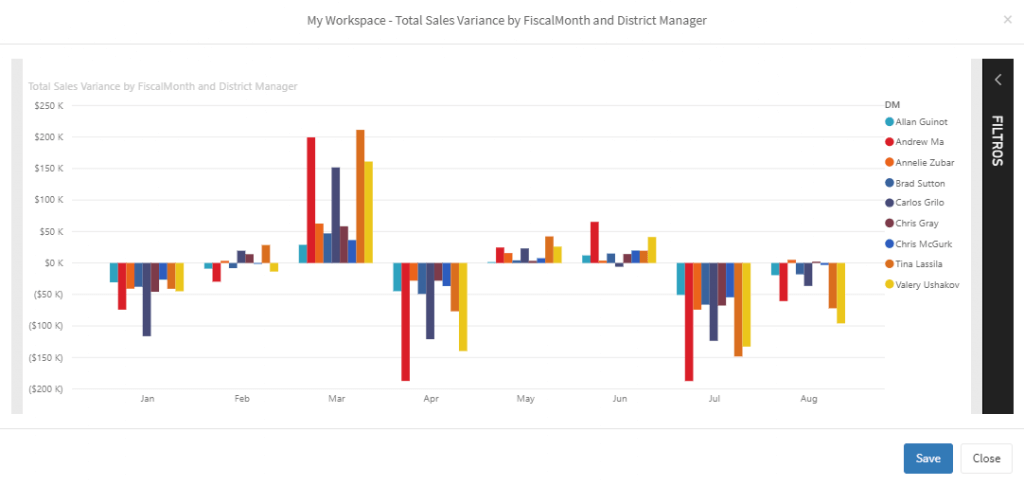
In this case, we are a retail chain with several District Managers whose data is gathered in a central Power BI report.

Despite wanting to share our performance with 5 managers, we don’t want them peering into each other’s numbers.

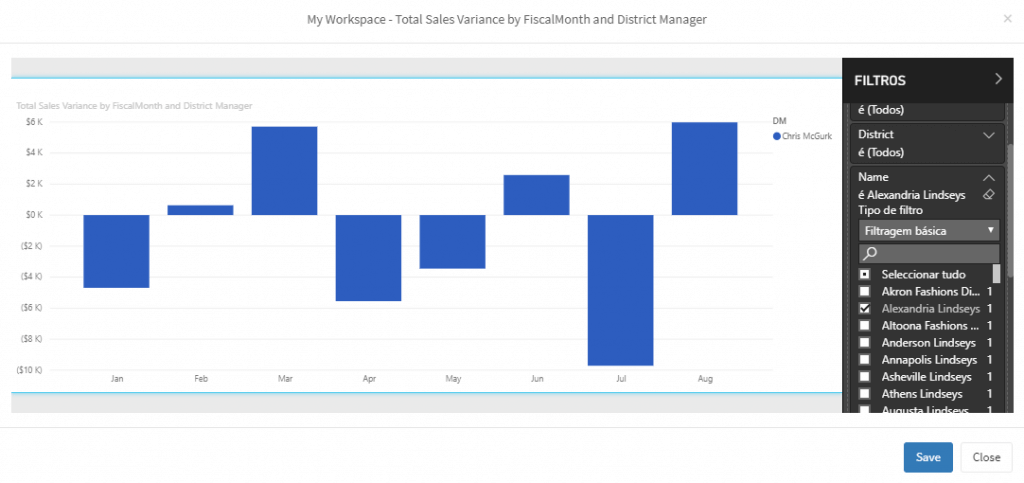
Instead of filtering data for each of them in the Filters tab, we are going to select one of them and replace him with a Recipient Name token. Select your report from the list, click the Edit Filters button and pick one of the managers from the Name list. In our example, we are picking Alexandria Lindseys. Hit save afterward.

Then, locate that name in the Page Filter field and delete it. Be careful not to delete the quotation marks.

Open the Tokens menu and click Recipient Name. This will copy the token to your clipboard.

Return to the Page filter area and paste the token where you previously deleted your manager’s name.

It should look something like this:

Hit “Update” to finish editing your playlist. PowerBI Robots will now check the names of your recipients and match them to the names in your report, making sure that each of them only sees data filtered by their corresponding value.
If you have any questions regarding tokens or need any help using them, please let us know through support@devscope.net.

How to enable MFA (Multi-factor authentication) in PowerBI Portal
Learn how to enable MFA (multi-factor authentication) in PowerBI Portal and add an additional layer of security to the world’s most powerful Power BI rep[...]

