How to customize your PowerBI Portal

Joel Monteiro
2022-06-01Thanks to PowerBI Portal, hundreds of organizations all over the world can freely share their Power BI reports and dashboards with anyone. Reports are published on an online portal and clients, partners and suppliers with access to it can fully interact with reports that were once inaccessible to anyone outside the company.
PowerBI Portal has grown into an integral part of everyday life at organizations using it, and it should reflect that organization’s identity in the same way other web services do. By default, PowerBI Portal comes with the DevScope secondary branding – with a deep blue color and our logo in black. We enjoy it a lot, but it’s your company after all, so you should make the portal your own using the few customization options. To learn how to do it, watch the video below or keep reading for a step-by-step guide.
How to customize your PowerBI Portal
For this tutorial, we came up with Healthy, a Health and Wellness clinic using PowerBI Portal to externally share Power BI reports and dashboards.
Healthy has a strong brand code and wants their clients and suppliers to feel at home when accessing their PowerBI Portal.
The Appearance tab can be found under Settings, accessible from the sidebar. The first option available allows us to switch between a light and dark mode in the Backoffice, which isn’t accessible by our external users, so let’s jump to the next setting.
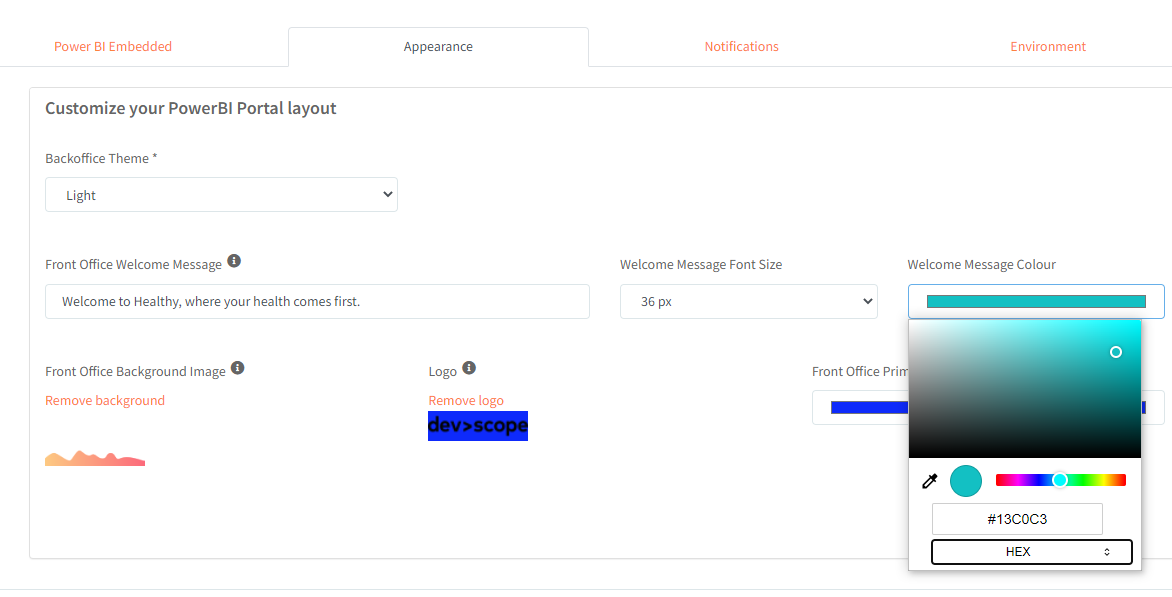
The first thing we can customize is the Front Office welcome message. Besides adding a message, we can change its font size and color:
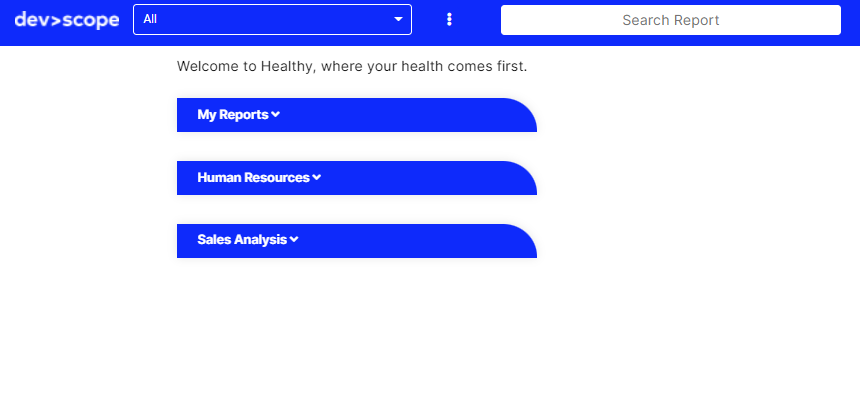
This message is displayed at the top of our list of reports:
Next, we can add a background to our portal. We advise using a PNG image with, at least a resolution of 1920×1080. We are fond of mostly white or transparent backgrounds, but feel free with better matches your company’s brand.
Next, we upload our logo. Due to PowerBI Portal’s horizontal navigation bar, we strongly advise against using vertical logos. Choose a PNG version of your organization’s logo with a transparent background.
Finally, let’s change the navigation bar to our company’s color. You can switch between RGB, HSL, or HEX.

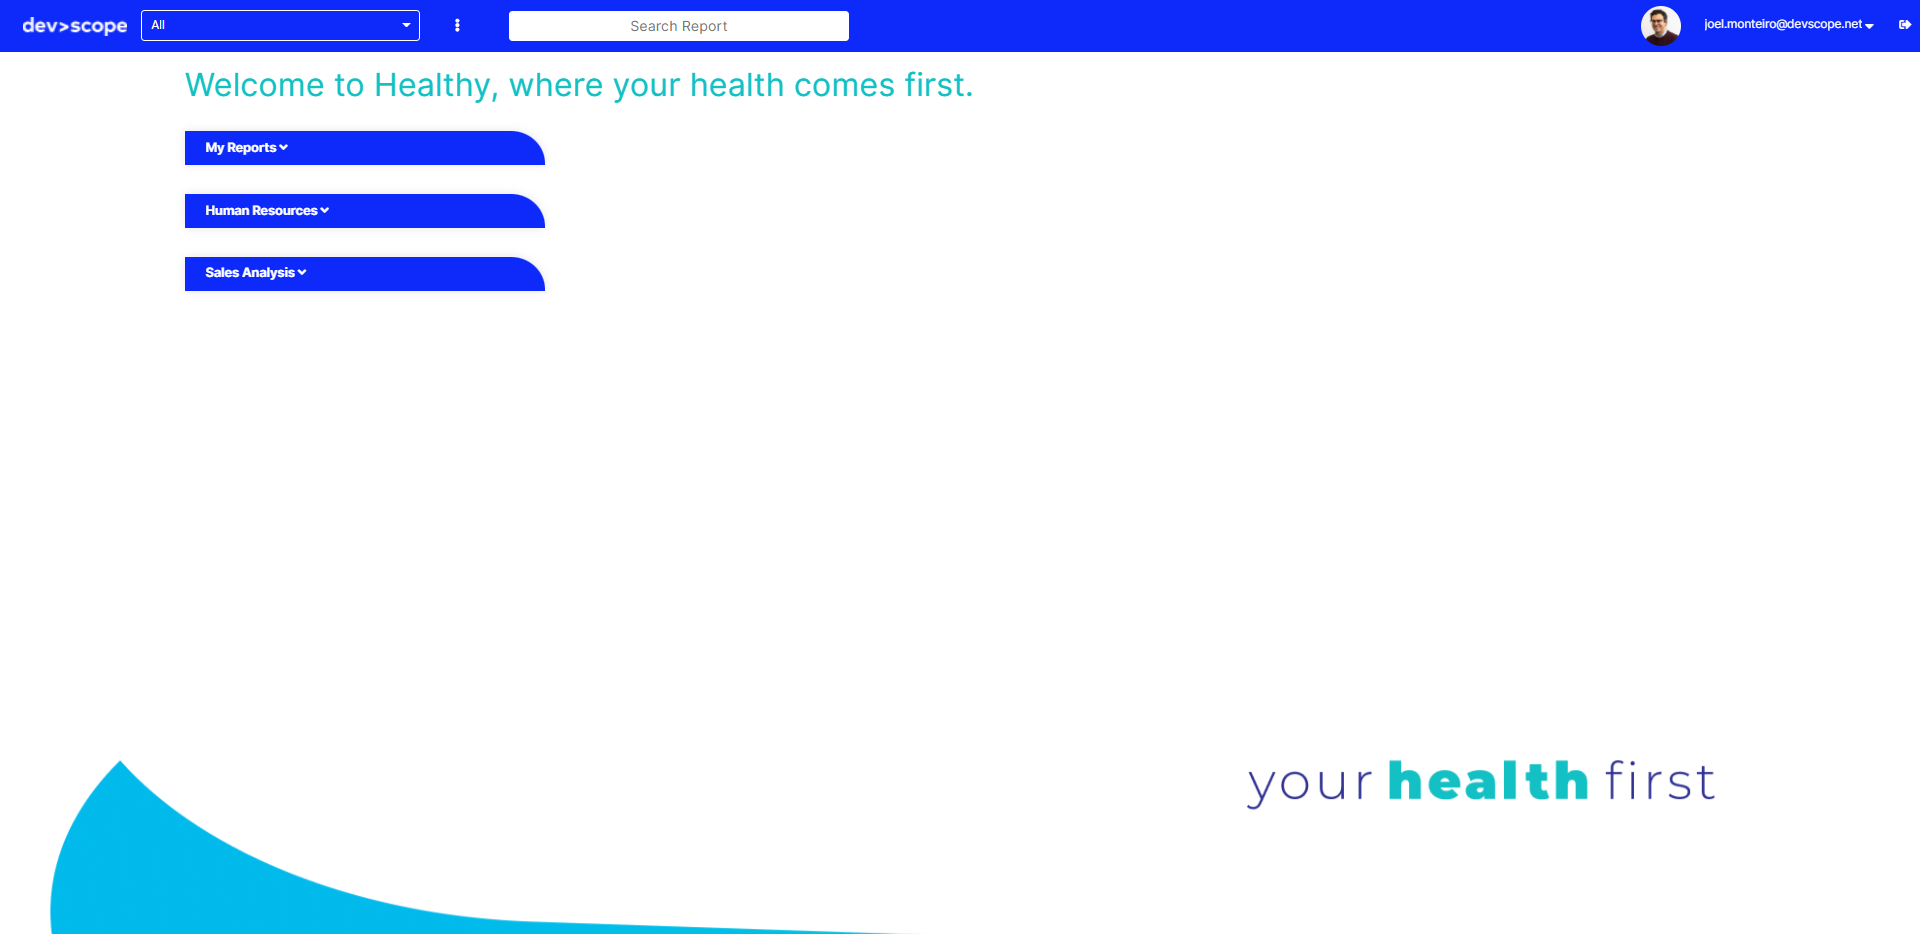
Fill in the color of your choice and click the Save button at the top right corner of the screen. Click the Front Office button in the sidebar to access it and see the final result:

In addition to the front office customizations we just went over, you can also customize PowerBI Portal’s warming up message.
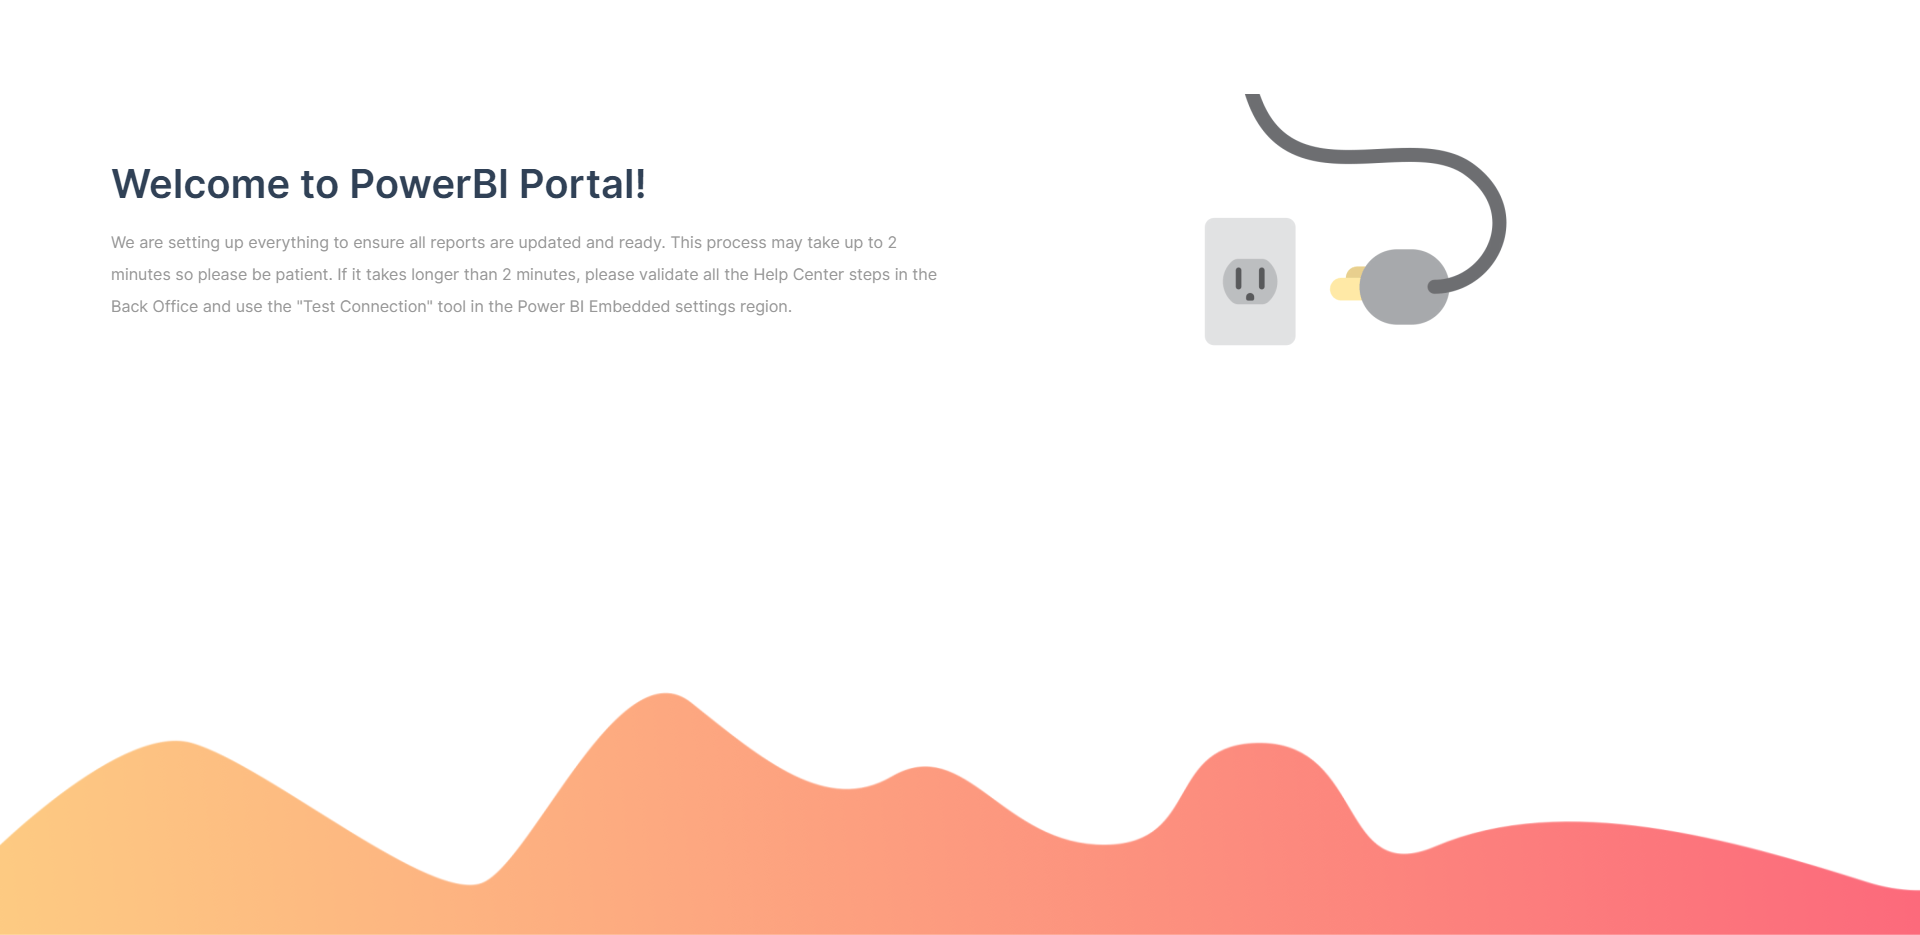
This warming up message appears to every user accessing PowerBI Portal. You can change the default warming up message and title, but the default wallpaper can’t be changed.

If your company is using a customized front office and you’d like to share the final result on our social media, feel free to contact our team at support@devscope.net. We will gladly share your example and even do a case study on your organization’s usage of PowerBI Portal.

PowerBI Portal 2.2.5 is now available. Here’s what’s new:
PowerBI Portal 2.2.5 fixes a few bugs and issues, with the highlight being the introduction of localization for a few languages.

